Coldplay Concert in Korea vs Philippines: Cost Breakdown for Fans
So, is it actually cheaper to travel to Korea to watch the Coldplay concert? Read on.
Jayson Concepcion Jayson Concepcion is a programmer by profession but has a soul of a traveller. Aside from his ultimate dream of travelling around the world, he loves to eat, drink, listen to music, talk about aliens and indulge in his occasional secret guilty pleasure of singing love songs in videoke. His favourite superpower is to teleport from one place to another. I guess you know why. Follow his latest pursuits on his blog, Facebook and Instagram.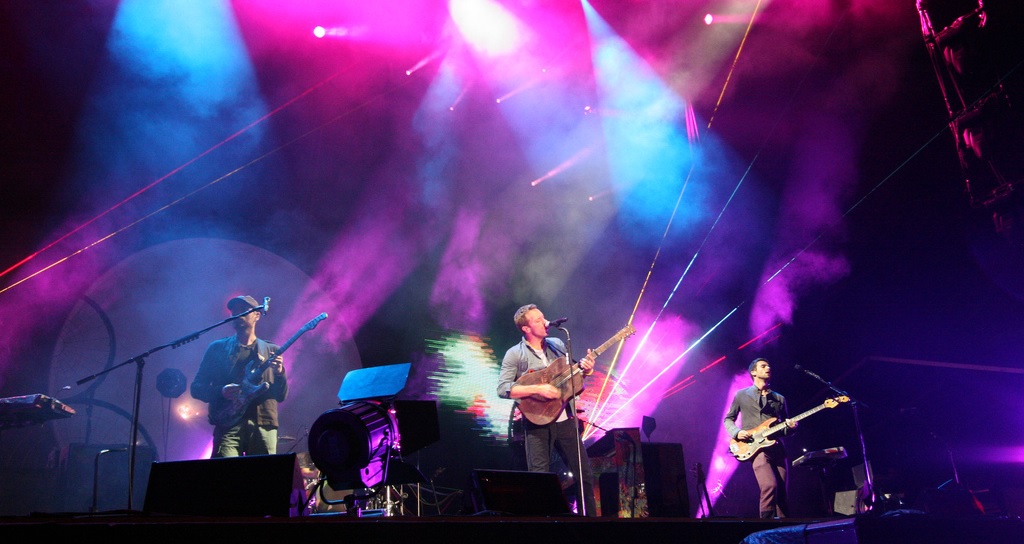
Alright you Coldplay fans... I know it’s sad to see that ticket prices for one amazing Coldplay night in the Philippines are so expensive compared to our neighbouring countries, and because of this, many of you are thinking of flying out of the country and see the concert there instead.
 Image credit: Christopher Johnson
Based on what I have found online, a front stage ticket in Korea only costs ₩123,200 (₱5,180)! So I made a sample breakdown of expenses for 3 days stay in Korea plus the most expensive ticket for that concert. I’m sure it’ll beat the VIP price of ₱22,500 here! Read on.
Also read: I Travelled to South Korea for 4 Days with an All-In Budget of Only ₱15k
Airfare
Okay, let’s start with one of the most expensive parts, the plane ticket. Usually, AirAsia offers the most affordable seats to Seoul from Manila, especially during seat sale promos. During promos, you can get a seat that ranges from ₱3,500 to ₱8,000 round-trip all-in. So let’s say you’re able to grab one that cost ₱6,500, plus of course the travel tax of ₱1,620.
- Air fare – ₱6,500
- Travel Tax – ₱1,620
Accommodation
 Nami Island
There are lots of budget hostels and Airbnb stays in Korea that offer cheap and quality rooms. Remember, you only need a place to sleep at so if your budget’s tight, then definitely consider this and forget staying in luxury hotels.
You can browse for rooms in Airbnb, Hostelworld.com, Agoda.com, TripAdvisor, Booking.com or directly in the hostel’s/guesthouses’ websites. Much better if you have relatives or friends there willing to adopt you for 3 days. Just bring them some chicharon or dried mango and they’d be happy.
For example, check out Kimchee guesthouse in Hongdae here.
A dorm bed in a 10-bed mixed dormitory cost ₩10,000 per night. Convert it to peso, it’s just ₱419 (₩1 = ₱0.041 as of 17 Nov 2016). So for two nights, you’ll just spend less than ₱1,000. Let’s put ₱1,000 here.
- Bed for 2 nights – ₱1,000
If you’re travelling with your partner or best friend, a double bedroom usually costs around ₩30,000 to ₩70,000. Let’s say you got a room for ₩45,000, convert it to peso, that’s around ₱1,887.
- Double bed for 2 nights – ₱3,774
Food
 Gimbap
A meal in Korea usually cost around ₩3,000 to ₩12,000 depending on the location and restaurant. A skewered sausage in Myeongdong (a tourist spot) cost around ₩3k to ₩4k while in Hongdae (a University place), it’s just around ₩2,000 to ₩2,500. One of our favourites, the Bibimbap is usually priced at ₩5k. Let’s base it there.
You’re gonna eat 3 times a day (assuming there’s no free breakfast in your hostel), so ₩5k X 3 = ₩15k. Converted to peso is around ₱628. Multiply it by 3 for 3 days of stay is ₱1,884. Let’s add another ₱500 for other necessities like bottled water and beer :D. Total is ₱2,384 for 3 days.
- Food – ₱2,384
Transportation
 N Seoul Tower
Forget taxis. You can go around Seoul just by taking their efficient trains. Purchase a T-Money from a convenience store and load up around ₩20k. I think that’ll be sufficient for a 3-day stay. You can refund the remaining balance upon return anyway. Plus, let’s add the limousine bus ticket from Incheon Airport to downtown Seoul. A ticket from the airport to Myeongdong cost ₩10k. So total for transportation is ₩30k, convert it to peso is ₱1,257.
Transpo – ₱1,257
Also read: Budget Travel in Seoul: 12 Tips from First Time Visitors
Tours

Well, you’re in Korea, make the most out of it! You got lots of time to go somewhere else before and after the concert! Go somewhere you really like! Here are some suggestions:
- Palace Hopping - Gyeongbokgung, Changdeokgung (including Huwon Secret Garden), Changgyeonggung, Deoksugung, and Jongmyo. An integrated pass to all the palaces is ₩10k but you can also pick one like Gyeongbokgung (watch the changing of guards) for ₩3k won.
- Nami Island – Entrance Fee ₩8k. You can also visit Petite France and Garden of Morning Calm after (separate entrance fees). Allot one day for this.
- Museum Hopping – I suggest War Memorial Museum and Korea National Museum. Entrance is free.
- Shopping – Myeongdong, Namdaemun, Dongdaemun, Sinchon/Hongdae area.
- N Seoul Tower – Cable car fee ₩8,500
 Dongdaemun
So let’s say you’ll go to Gyeongbokgung Palace, Nami Island, Museum Hopping and N Seoul Tower. Total Entrance fee for that is:
- Gyeongbokgung – ₩3,000
- Nami Island – ₩8,000
- N Seoul Tower – ₩8,500
- Total: ₩19,500, converted to peso is: ₱817
Also read: How You Can Survive in Seoul for FREE
Cost breakdown
Alright, so let’s compute for the grand total including the most expensive Coldplay concert ticket and check if it would indeed be less than ₱22,500 (VIP ticket price here in PH).
| Expenses | Amount |
| Airfare | ₱6,500 |
| Travel Tax | ₱1,620 |
| Accommodation (2 nights) | ₱1,000 |
| Food | ₱2,384 |
| Transportation | ₱1,257 |
| Tours | ₱817 |
| Concert Ticket | ₱5,180 |
| VISA Fee | Gratis (Free) |
| Grand Total | ₱18,758 |
Really, are you kidding me? For ₱18k, I can tour Korea for 3 days and watch a Coldplay concert (front stage!) at the same time?! Even if we get a Double room or increase the ticket price to ₱6,000 it would still be less than ₱22,500! Hey, why don’t we add another ₱5k for shopping for a total of ₱24k? Isn’t that sweet?
Also read: Seoul, Jeju Island & Busan for 5 Days Under ₱7k Pocket Money: Here’s How I Did It
Actually, the only challenge here is the airfare. So if there’ll be a seat sale in the coming days be sure to grab it! For me, I’d set the limit to ₱8,000 for a roundtrip ticket. If I can’t get a ticket lesser or equal to ₱8,000, I’d forget about it. Hey, Coldplay will also be playing in Singapore and a VIP ticket only costs ₱10,361! There are still options!


 The Turtle Tower
 The Huc Bridge
 St. Joseph Cathedral
 Bird salad

 The Thien Cung cave (Heaven Cave): probably the best cave I’ve seen so far. Truly majestic!


 The area of the 2 lagoons and fishing village
 The Fighting Cock Rock Formation: Ha Long Bay’s iconic landmark
 With our fellow tourists
 Fried Snail Spring Roll
 Dried Beef in Ant and Salt Dip
 Caramelised Pork in Coconut
 Banana Flower Salad with Roasted Peanuts


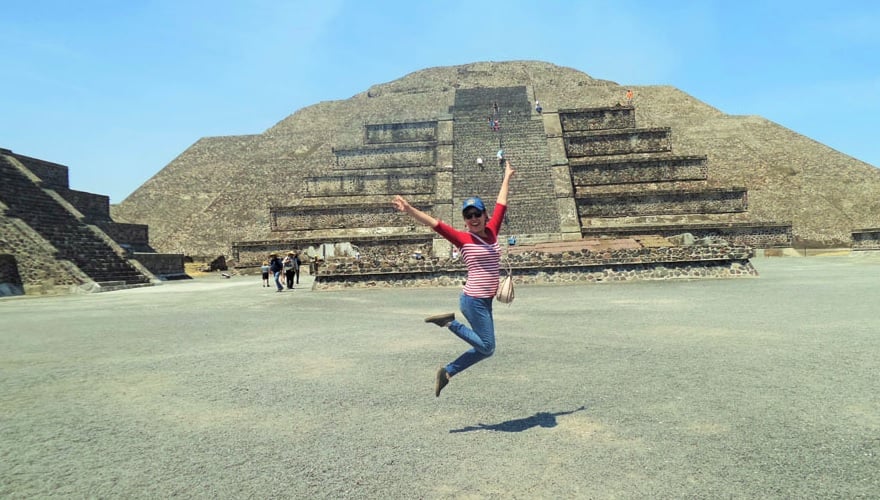
 Pyramids of the Teotihuacán
 Mexico City Metropolitan Cathedral
 Fried quesadillas with Mexican rice
 Guadalajara
 Image credit:
  Tequila Tour
 Tostadas
 Desierto del Carmen
 Image credit:


 Image credit:
  Image credit:
  Image credit:
  Image credit:
  Image credit:
  Image credit:
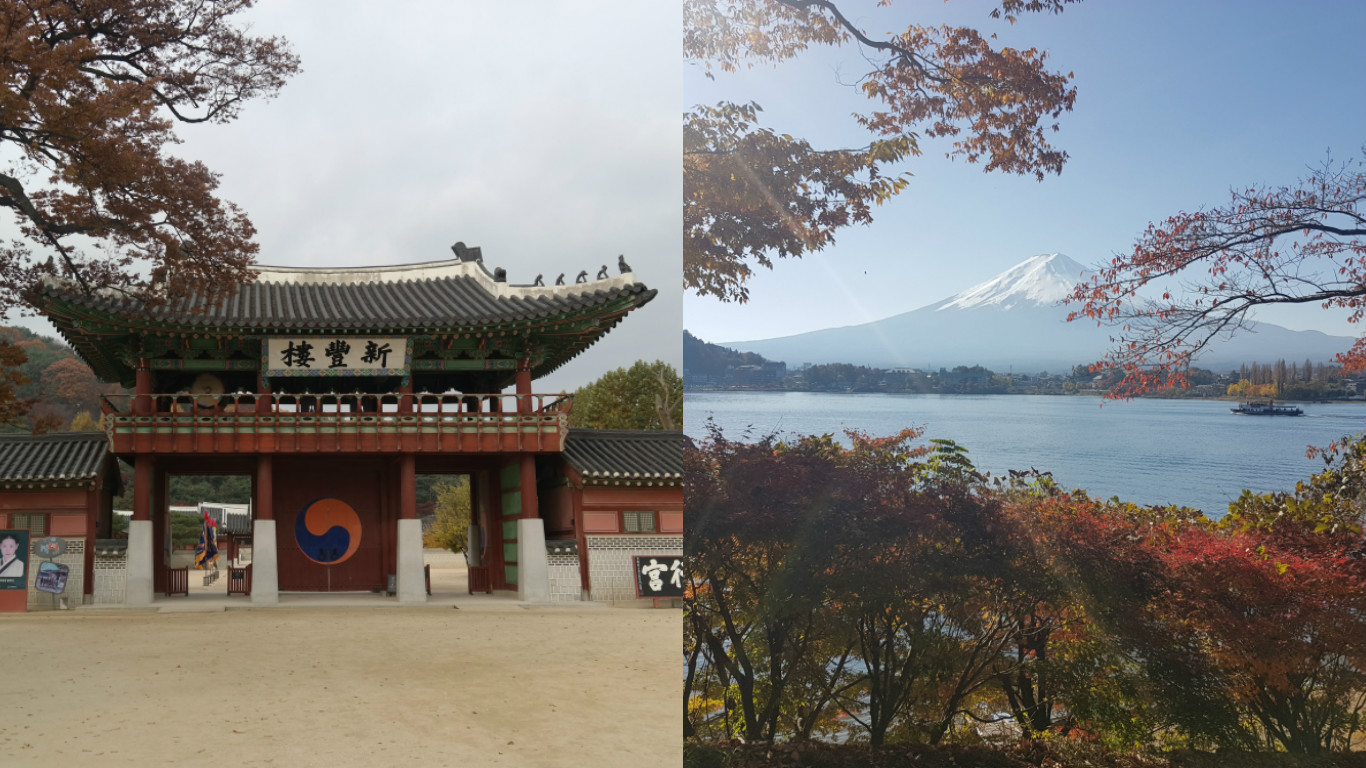
 Emblem of Suwon


 Portion of the Hwaseong Fortress
 Guard post
 Clare explaining Ehwa’s history

 Some of the best campus sights
 A row of tall trees from the main gate leading to the campus auditorium
 Hachiko and Professor Ueno Reunited ❤
 University Auditorium, College Building, Sanshiro Pond
 Waiting, waiting, waiting
 These vehicles are cool, a lot of them roaming around the market
 Finally, after 6 hours, it’s time to eat!
 The fatty tuna deserves a solo shot
 With the head chef yay!
 Fujisan at its finest!
 Dogs of Fuji
 L: Around the lake, R: Vintage Tour Bus
 Fuji and the eulalias

 Omu & Korean Chicken
 Gate Guards of Gyeongbokgung Palace
 Changing of Gate Guards Ceremony
 The famous Love Locks of N Seoul Tower

 Korean BBQ
 Korean street food
 Myeongdong Shopping District

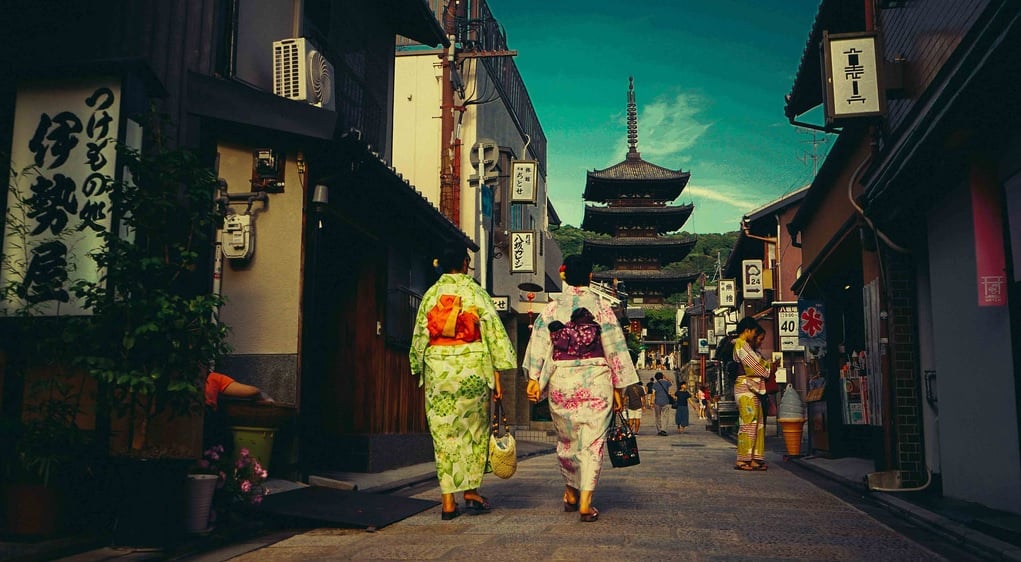


 Image credit: Joanna Marie Nacino
 Image credit:
 Image credit: photo-armenia.com
 Image credit:
  Image credit:
  Image credit:
  Image credit:
  Image credit:
  Image credit:
  Image credit:
  Image credit:
  Image credit:
  Image credit:
  Image credit:
  Image credit:
 Image credit:


 Image credit:
  Image credit:
  Image credit:
  Image credit:
  Image credit:
  Image credit:
  Image credit:
  Image credit:
  Image credit:
  Image credit:

 Image credit:
  Image credit:
 Image credit:
  Image credit:
  Image credit:
  Image credit:
  Image credit:
  Image credit:
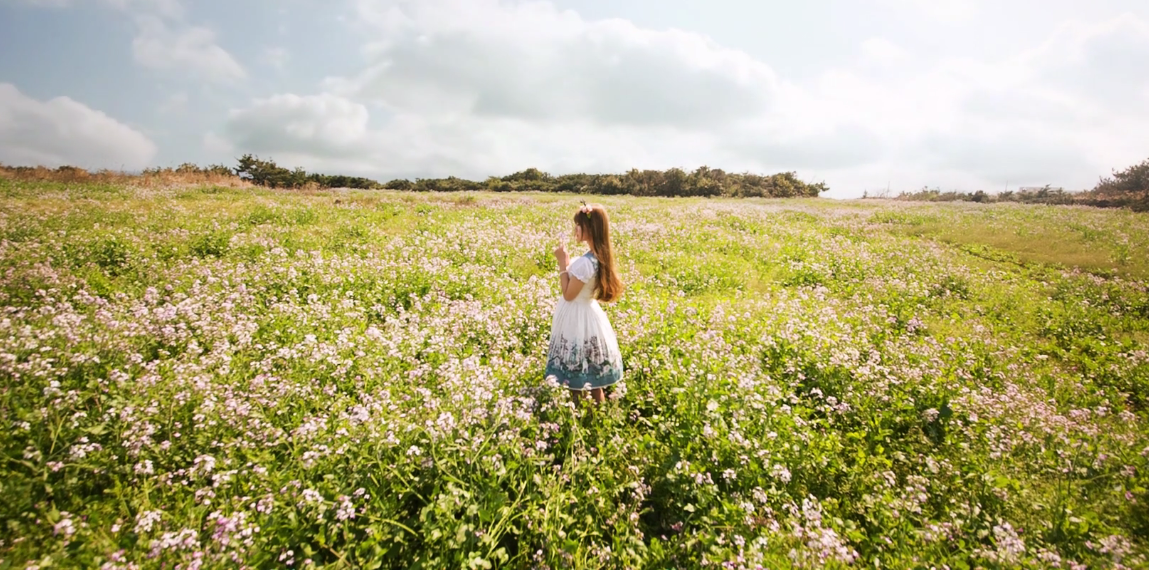
 Image credit:
  Image credit:


 Image credit:
 Image credit:
  Image credit:
  Image credit:
  Image credit:
  Image credit:
  Image credit:
  Image credit:
  Image credit:
  Image credit:
 December 2014. No rain can stop us from taking a picture with Hachikō.
 August 2015 Meeting up with friends at Hachikō Statue.
 December 2014 Shibuya Crossing
 August 2015 Shibuya Crossing
 View of Tokyo at the Observatory Deck at 663 feet high


 Going out of Meiji Shrine, we saw this beautiful Japanese girl wearing traditional kimono who attended a Shinto Wedding at the shrine.


 Kaminarimon or the Thunder Gate. This is the outer gate of Sensō-ji Temple.
 The 200 metres shopping street called Nakamise where you can buy Japanese souvenirs and various Japanese delicacies. Nakamise connects the outer gate to the second gate of the temple.
 I am a big fan of Osenbei (rice crackers)!
 Takeshita Street-December 2014


 RJ and Reece at Gotemba with a picturesque view of Mount Fuji.


 Y Hotel at the heart of Sydney CBD, 5 minutes away by foot from Museum Station via Airport Rail
 Looking around the city
 From flowers in the park to graffiti in a dark alley
 It was this foggy at first..reminded me of Silent Hill
 Good thing the fog cleared, voila! The Three Sisters
 At the world’s steepest railway
 Aussie outdoors
 Extra hot Toby’s Flat White and chunky sandwiches
 Feeling blogger
 Krizzy and the Harbour Bridge
 Nuggets and the Opera House
 British feels
 St. Mary’s Cathedral was just wow
 Weekend market
 Sydney Townhall
 Art Gallery of NSW
 Central Station
 So cute
 Sooooo cold! Our UGGs in sand, not snow
 Vivid Sydney at Central!
 Want an inexpensive dinner? Go Asian: Chicken Tikka Masala for AU$8
 Pasta rolled in a wheel of cheese was the star of the show
 Tastes like Auntie Anne’s… We got the cinnamon one.
 Pictures do not give justice to how good these were
 What my last few coins was able to buy: Hungry Jacks’ Sausage Muffin, Hash Brown, and my last dose of my favourite Flat White
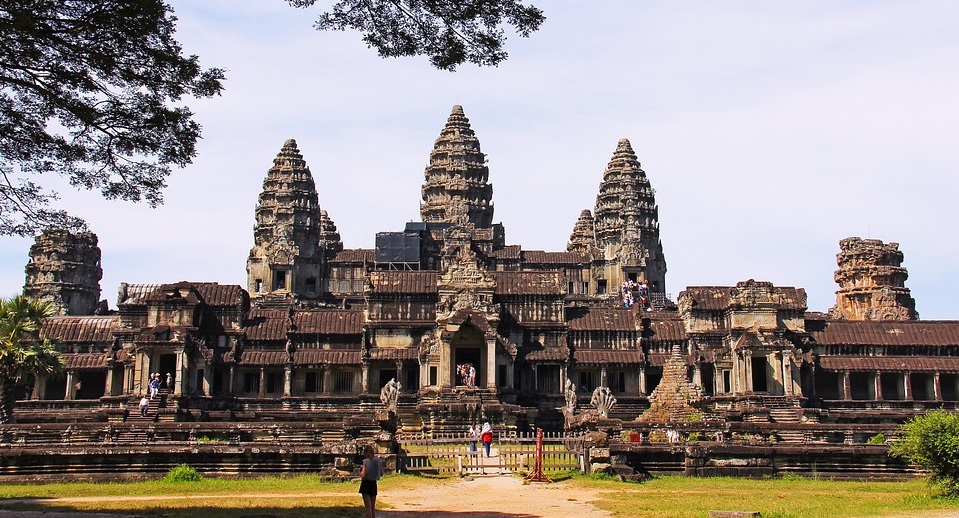

 Pub Street
 Angkor Wat entrance
 Bayon Temple
 Angkor Thom
 Old Market
 Wat Preah Prom Rath


